


Scan a Document
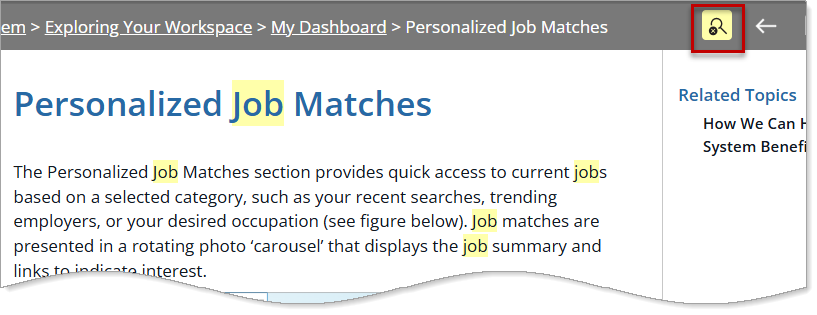
Overview
Your site may not include this optional feature.
If your state site allows document scanning and you have a TWAIN-compliant scanning device connected to your computer, for example, an all-in-one printer, you can scan supporting documents from the Documents tab of your Personal Profile. These documents can be used by staff to verify information you provide, for example, a birth certificate or Social Security card.
Do not use the Documents tab to scan a résumé. Use the Upload option of the Résumé Builder feature for storing your résumés in the system.
Where to Find This Feature
-
Top menu bar > Documents icon > Scan Document button
-
Left navigation menu > Document Management group > Scan a Document link
-
Header bar > Profile icon > Personal Profile > Documents tab > Scan a Document link
Steps to Scan a Document
When the Scan Document page displays, if the DocuVieware TWAIN Service is not available, you may be prompted to install it. Select the OK button to continue, or the button to exit.
 One-time installation of the scanner driver (if applicable):
-
In the Please Confirm... dialog box, select OK.
-
Save the installation file to a location on your computer.
-
Open the file and select Next to begin.
-
Select Next to accept the software location.
-
Select Install to install the driver software.
-
Select Finish.
-
In the Document Information section:
-
Select the appropriate Document Description from the drop-down list to associate the document with a specific document type.
-
Enter Document Tags, using any keywords that may help you find this document later. You can enter multiple tags with a semicolon separating each entry.
-
Enter a Document Name for the document you will scan. If you leave this blank, the system will use either the Verification Type document, if available, or the current date and time as the document name.
-
-
In the Scan Options section:
-
Use the drop-down list to Select Source, if you have more than one scanner available.
-
Select the Pixel Type.
RGB may be desirable for color images that will not scan well in black and white. However, resolution settings and pixel types for RGB color, black and white (BW), or grayscale selections affect the file size. You will receive a warning message if the image size is larger than the system maximum, but you can change scan options to limit the file size.
-
Select the Resolution. Higher resolutions result in a better quality scanned image, but it creates a larger file size.
-
Select any additional Settings checkboxes that may apply for any given scanner or job.
-
Ensure that the document is placed properly on the scanner, then select the Scan Document button. The image and a thumbnail display in the Scanned Images section.
-
-
In the Scanned Images section, select the Upload Document button to add the scanned image. The added file displays at the top of the Documents tab.
-
The Scanned Images toolbar allows you to download, print, page through, zoom, and rotate your scanned image as well.